|
|
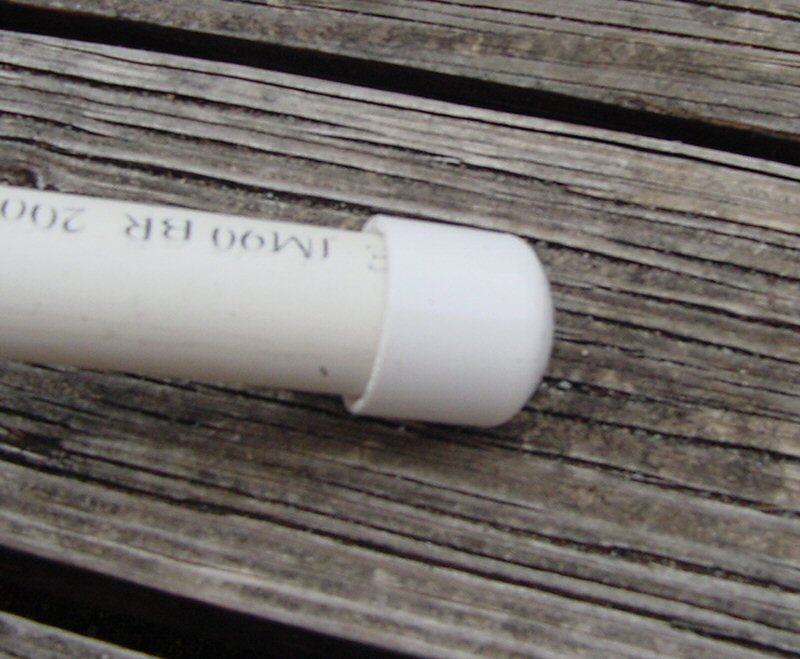
First, cut the 10' long pieces of PVC into the lengths specified
above. If you want a longer launch platform, adjust the length of the 1.5" PVC
accordingly. Be sure to be careful with the cuts and make them as straight as
possible. Sand the ends of the pieces to remove burring.
Also, I sanded
around one end of each of the pieces so the whole launch platform can be taken
apart more easily once the launch is done. |
| |
|
|
 |
|
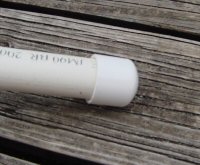
Put end caps on all of the 1" PVC pipes. |
| |
|
|
 |
|
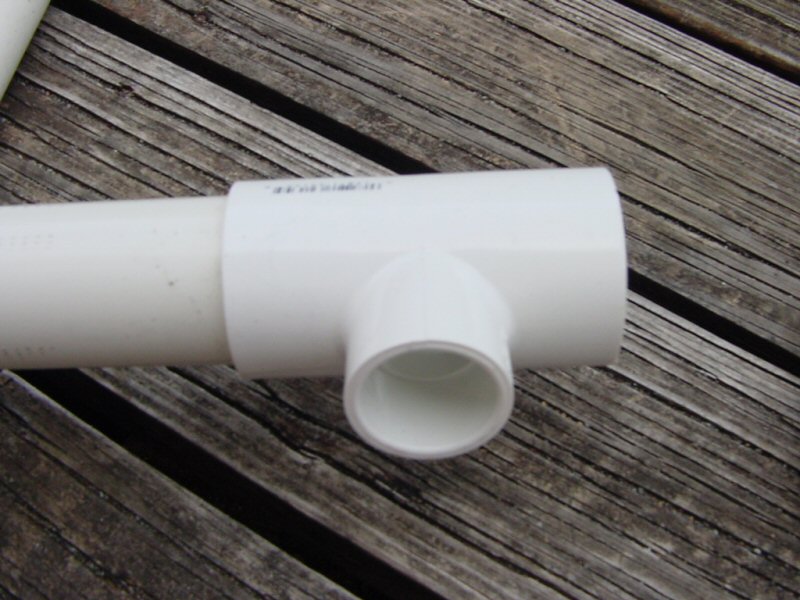
Put the "T" connector on one end of a 1.5" pipe. |
| |
|
|
 |
|
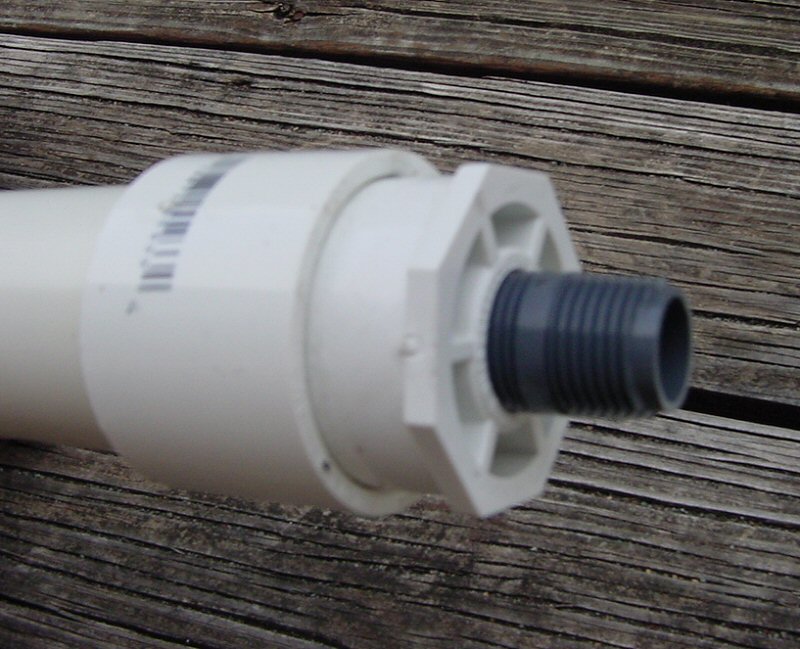
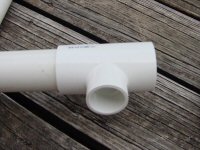
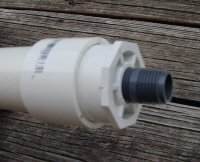
Put one 1.5" connector on the other end of the 1.5" pipe and put
the other 1.5" connector on one end of the other 1.5" pipe.
Now, insert
the 1.5" to 1" threaded reducers in the 1.5" connectors.
Add the 1"
close threaded nipples.
You should have two 2' long 1.5" PVC pieces.
Each should look like the picture on the left on one end, and one should have a
T connector on the other end. |
| |
|
|
 |
|
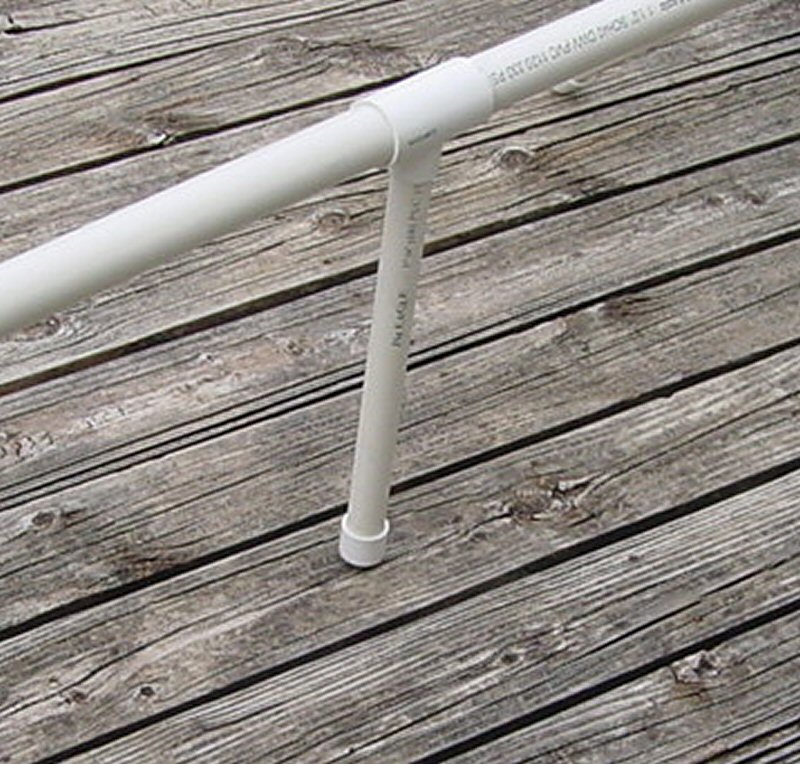
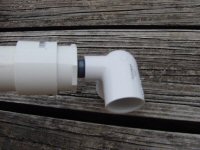
Thread the 90 degree elbows onto the open end of each threaded
nipple. On the one with the T connector be sure the bottom of the T connetor
points in the same direction as the bottom of the elbow! |
| |
|
|
 |
|
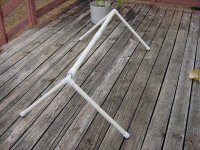
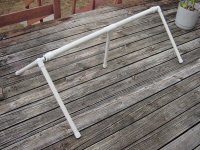
Put it all together now... almost done! |
| |
|
|
 |
|
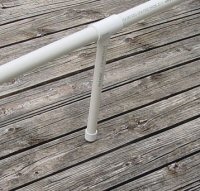
Now measure from the ground to the bottom of the crosspiece so
you can cut the last piece of 1" PVC to fit into the T connector. On mine, it
ended up to be 17". Once cut, sand the end so it will fit in smoothly and be
easily removable. |
| |
|
|
 |
|
Finished!
Now for a couple of coats of paint and
clearcoat to protect the finish.
Drill holes in the top - I put three
1/8" holes on each side of the connector, and two 3/16" holes between the 1/8"
holes. |
| |
|
|
| Picture
Soon |
|
For the launch rods, I bought some 1/8" x 36" steel rod at Home
Depot. Also, some 1/8" end nuts (that crimp on) to keep the rod from taking off
with the rocket. And some spring clips (like on the back of a sink faucet) to
keep it from falling through. Add a blast deflector and a steel stand-off, and
you'r eready to go! |
 |
|
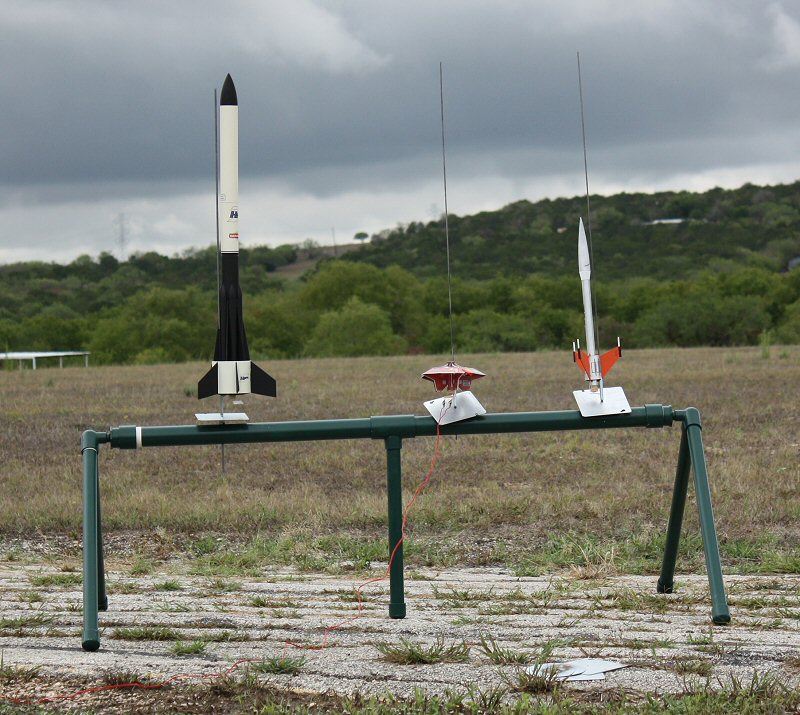
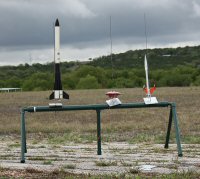
The completed launch pad, painted and loaded up with rockets.
Let the flights begin! |